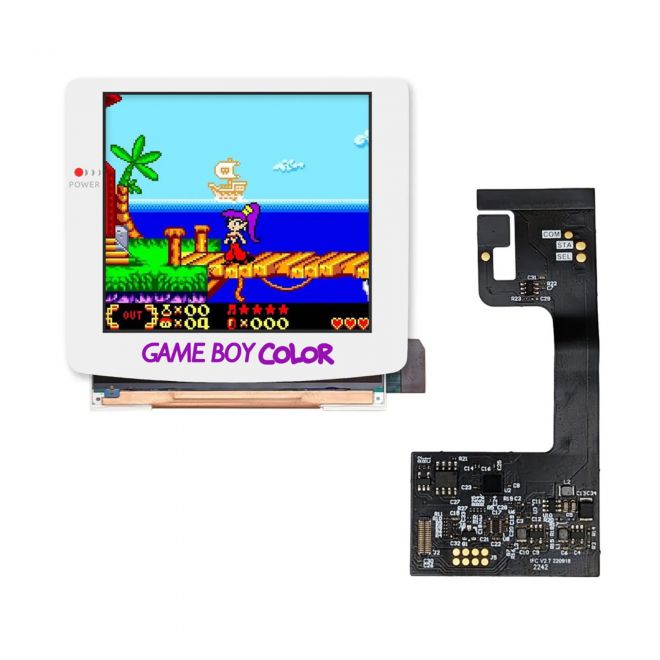
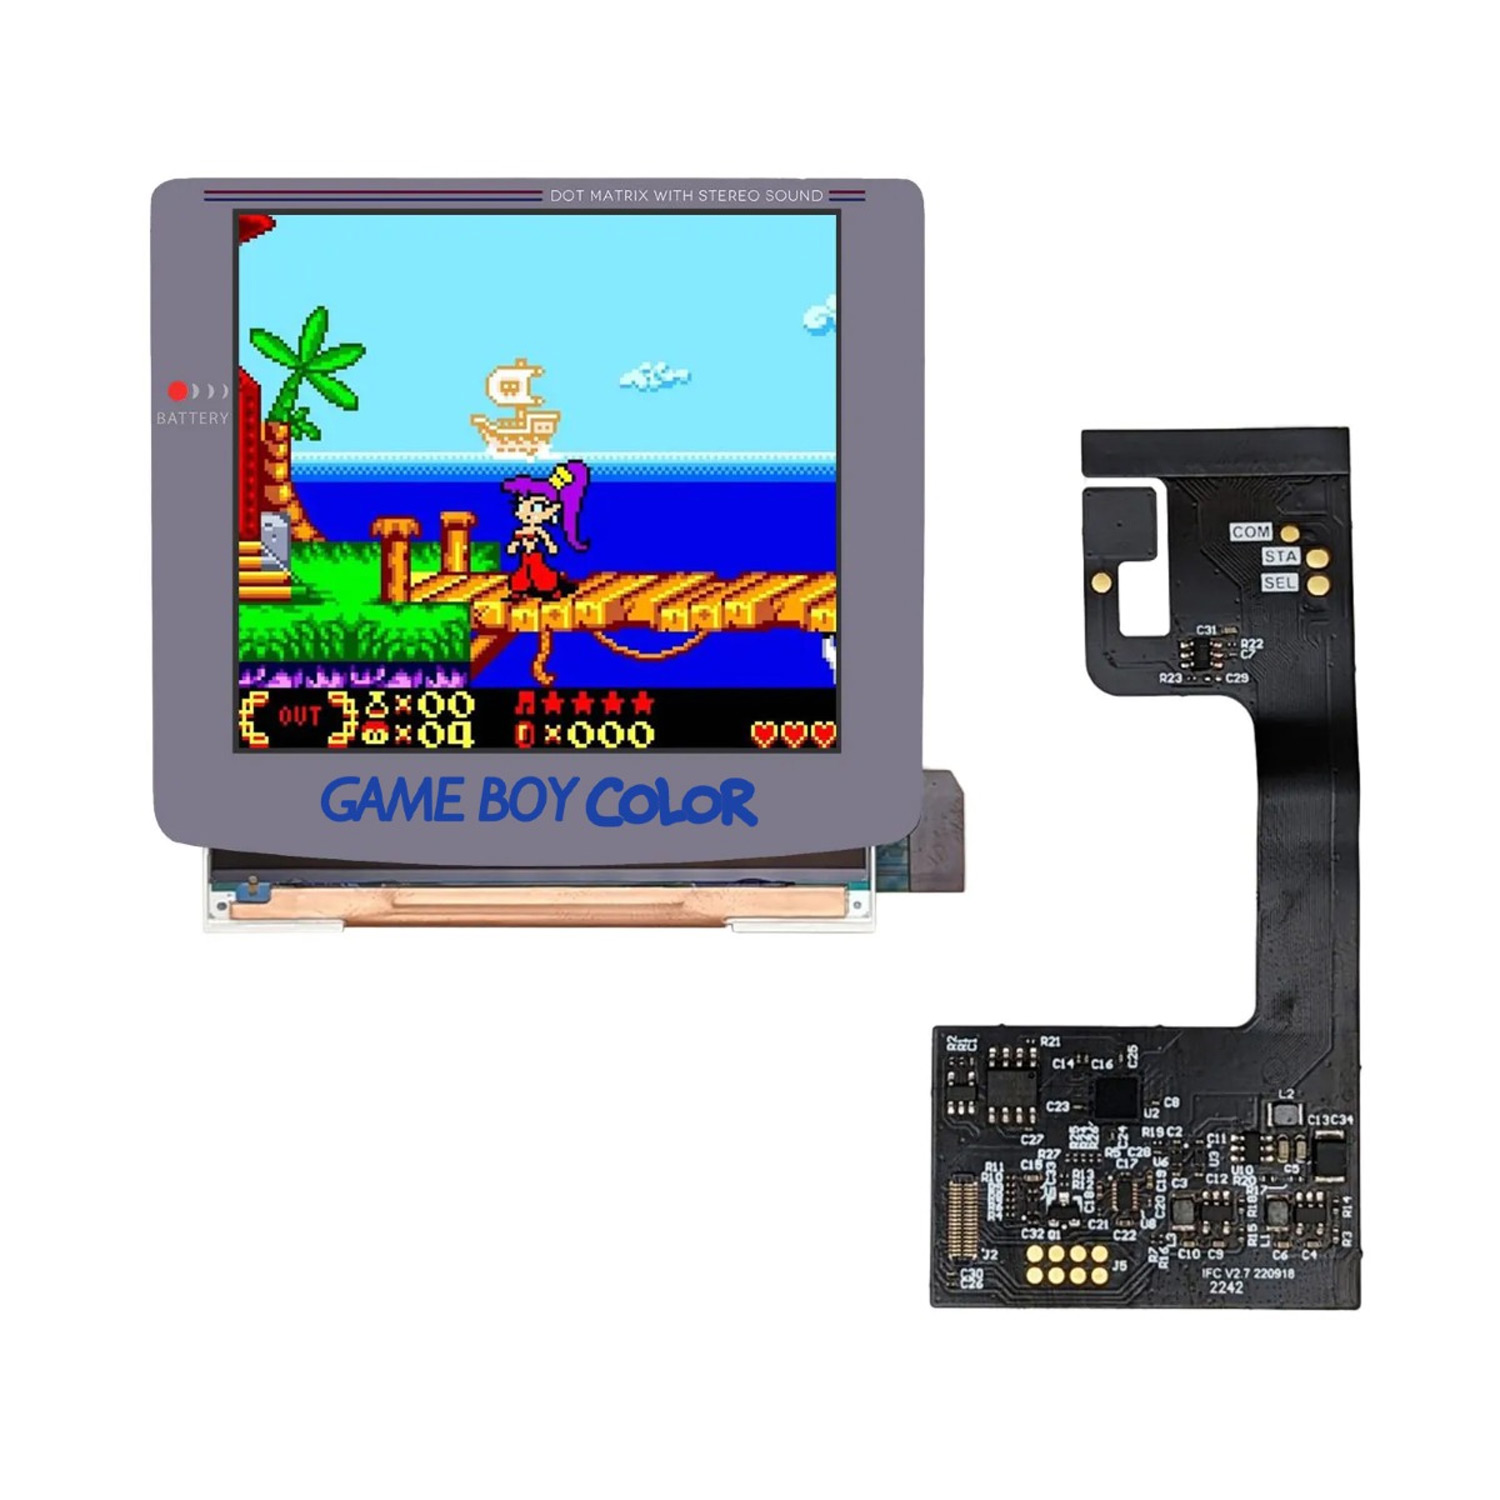
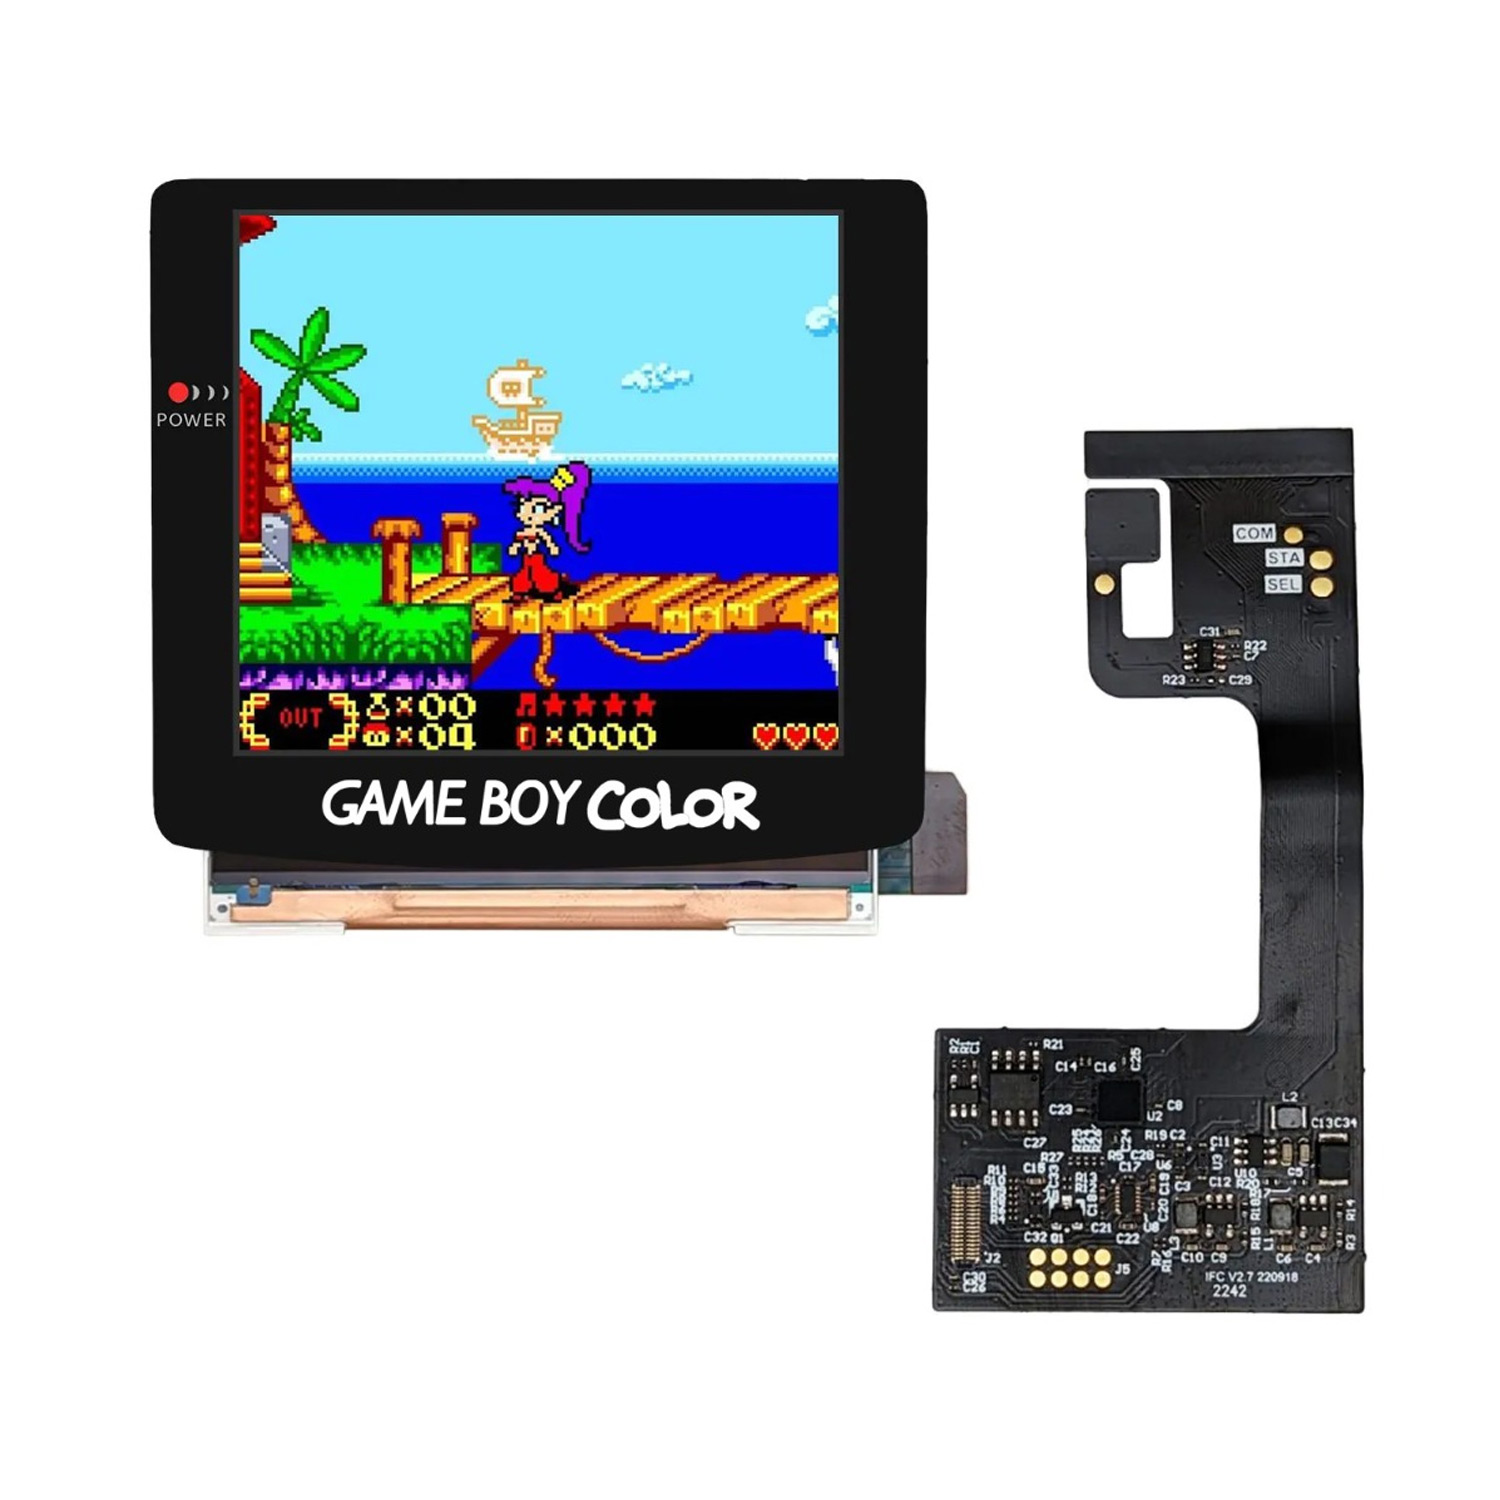
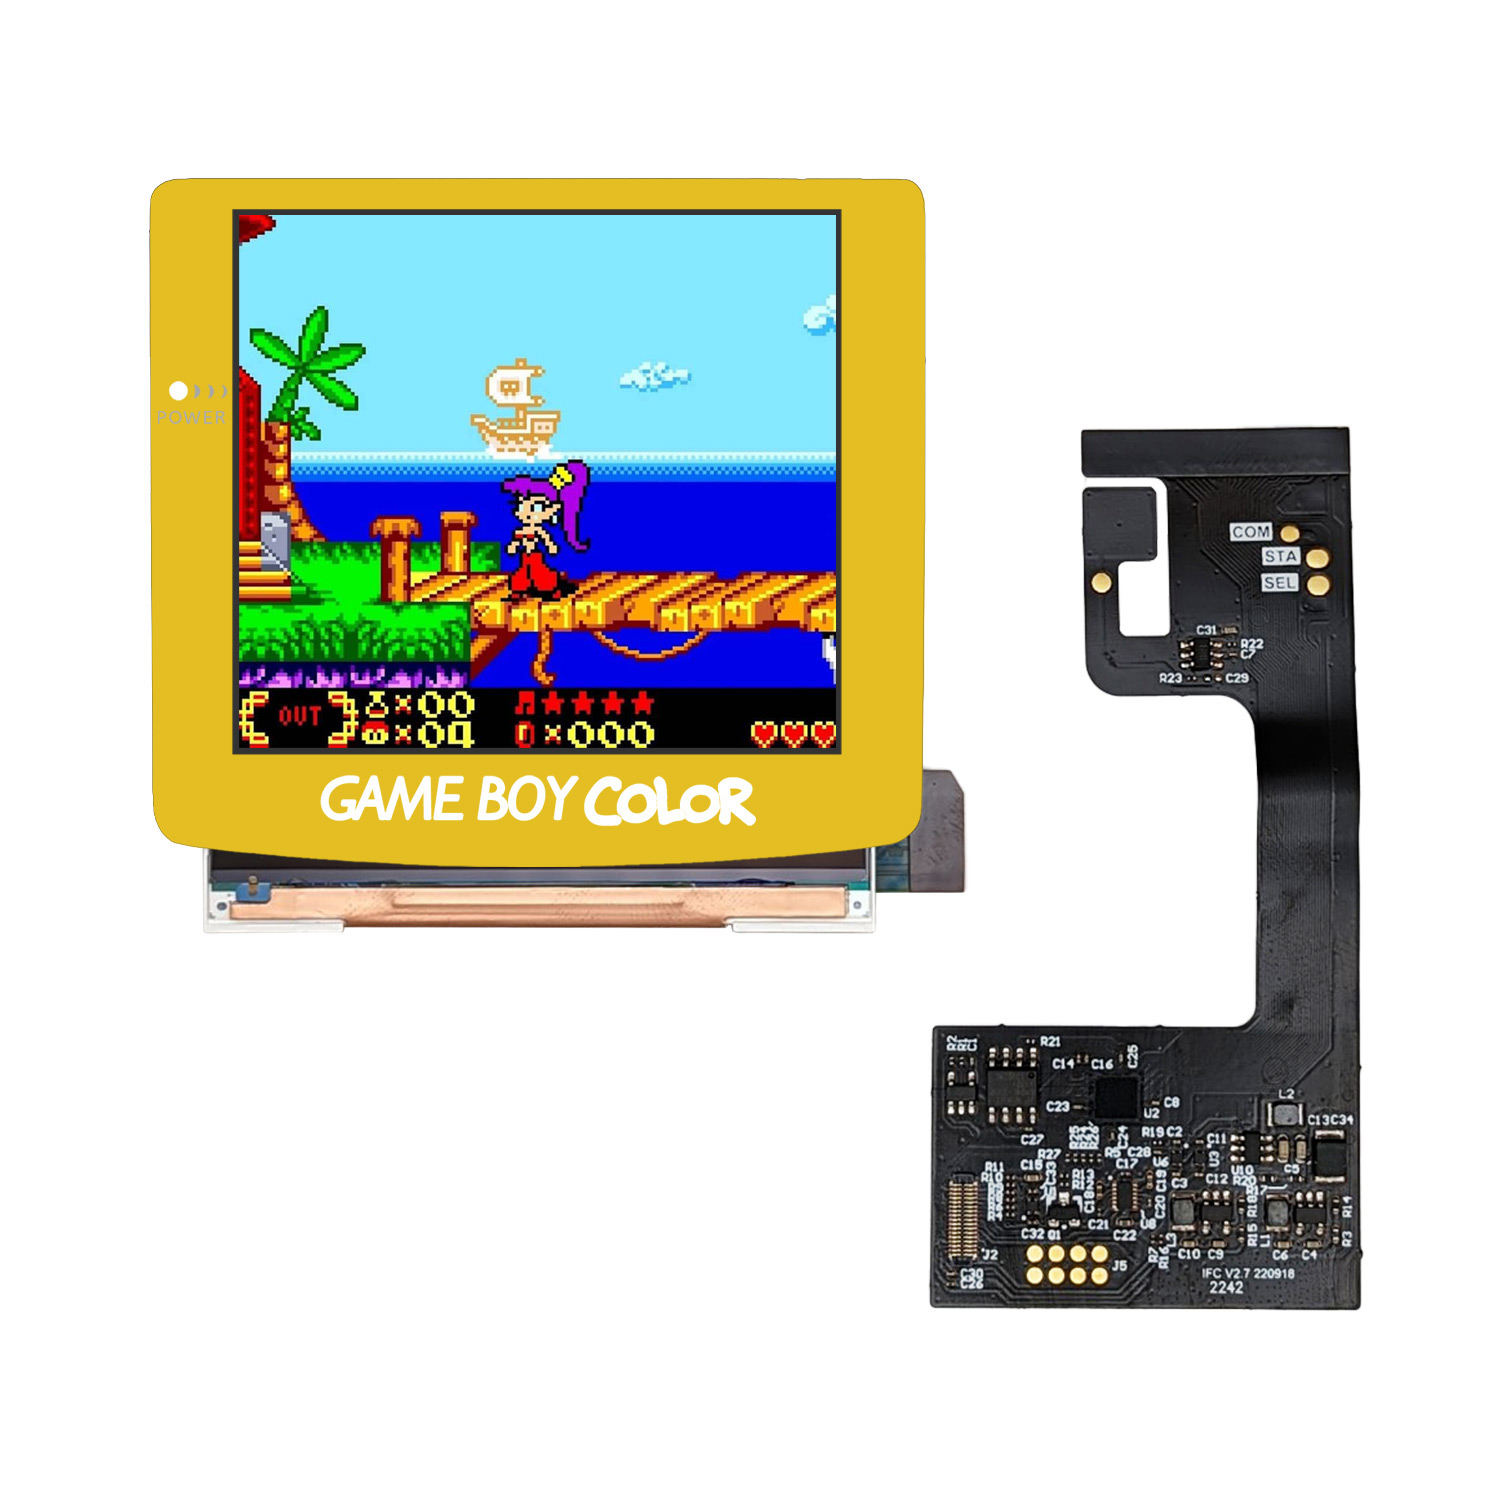
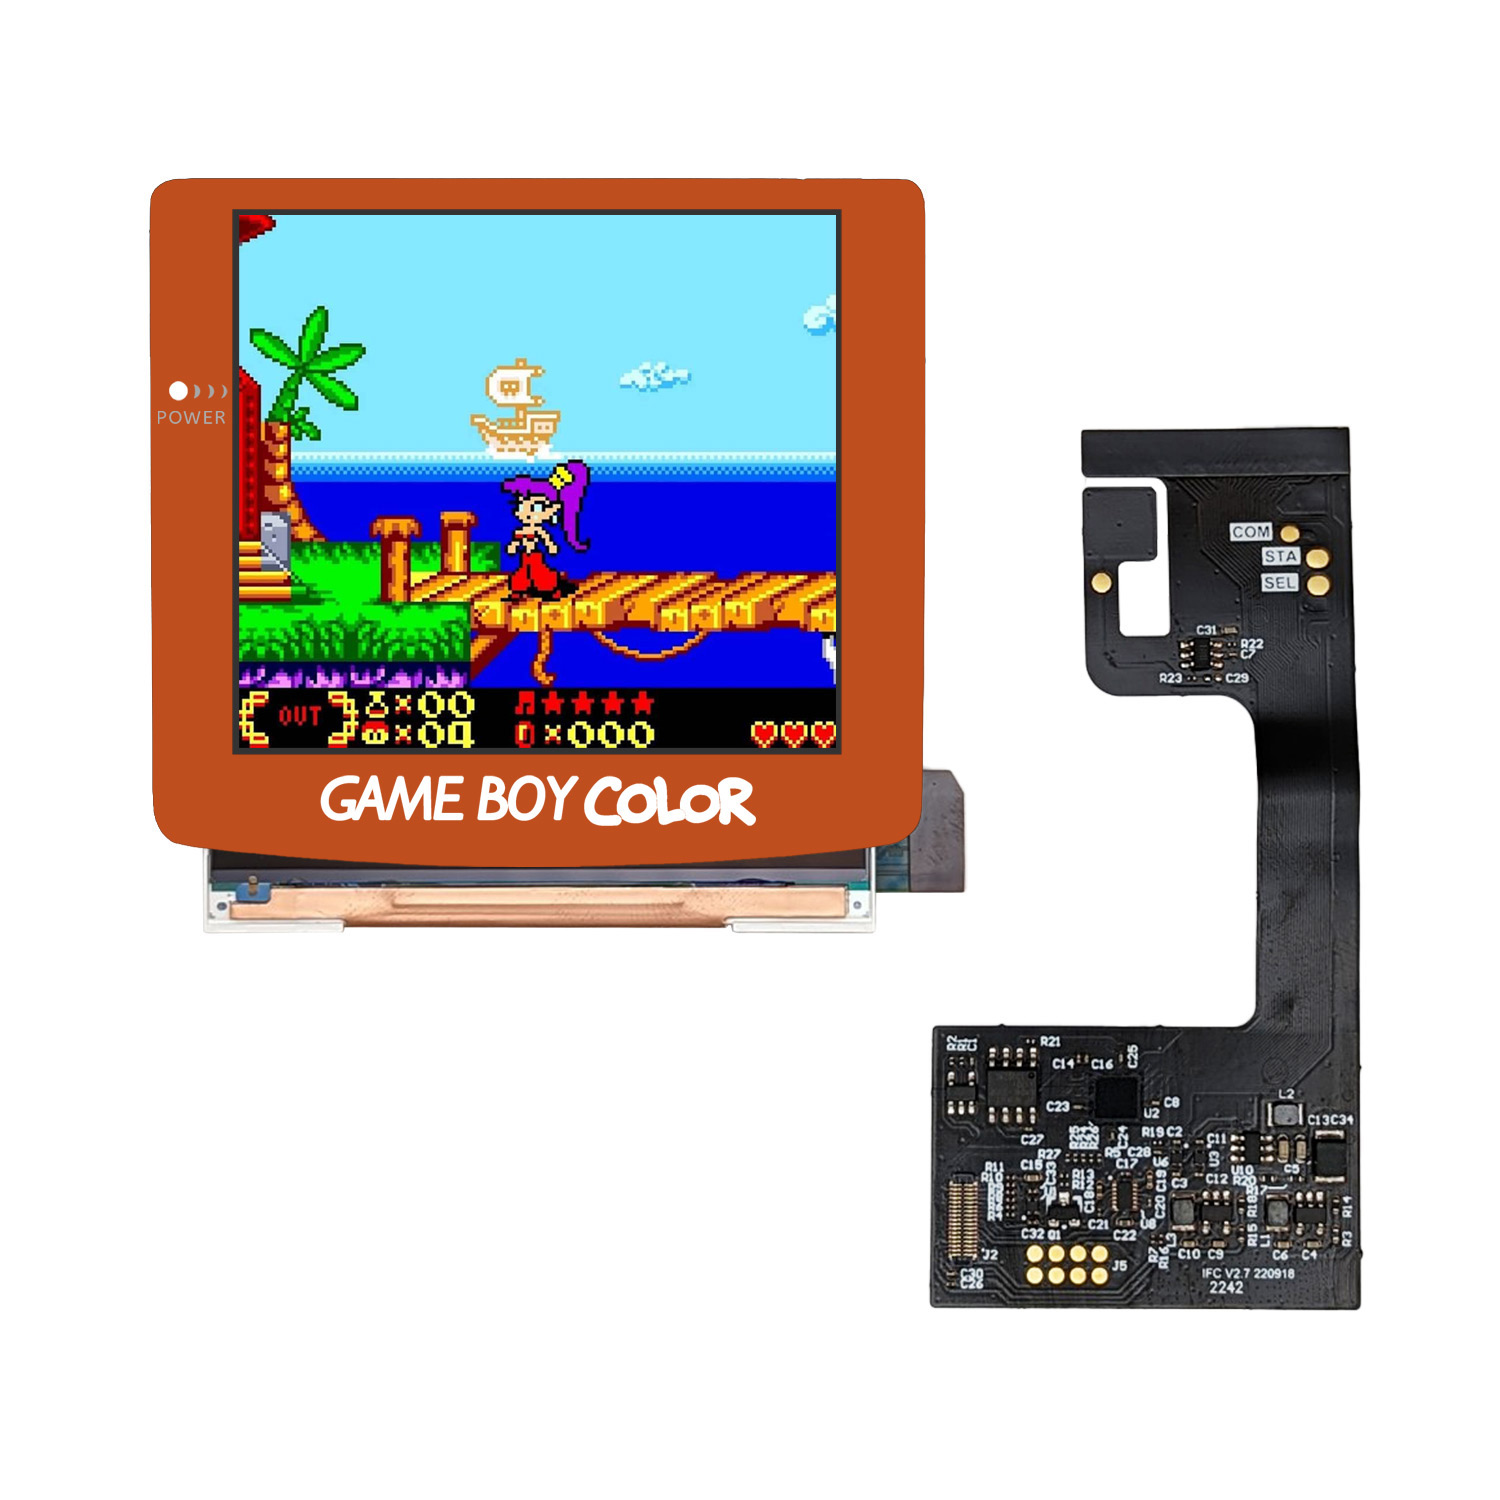
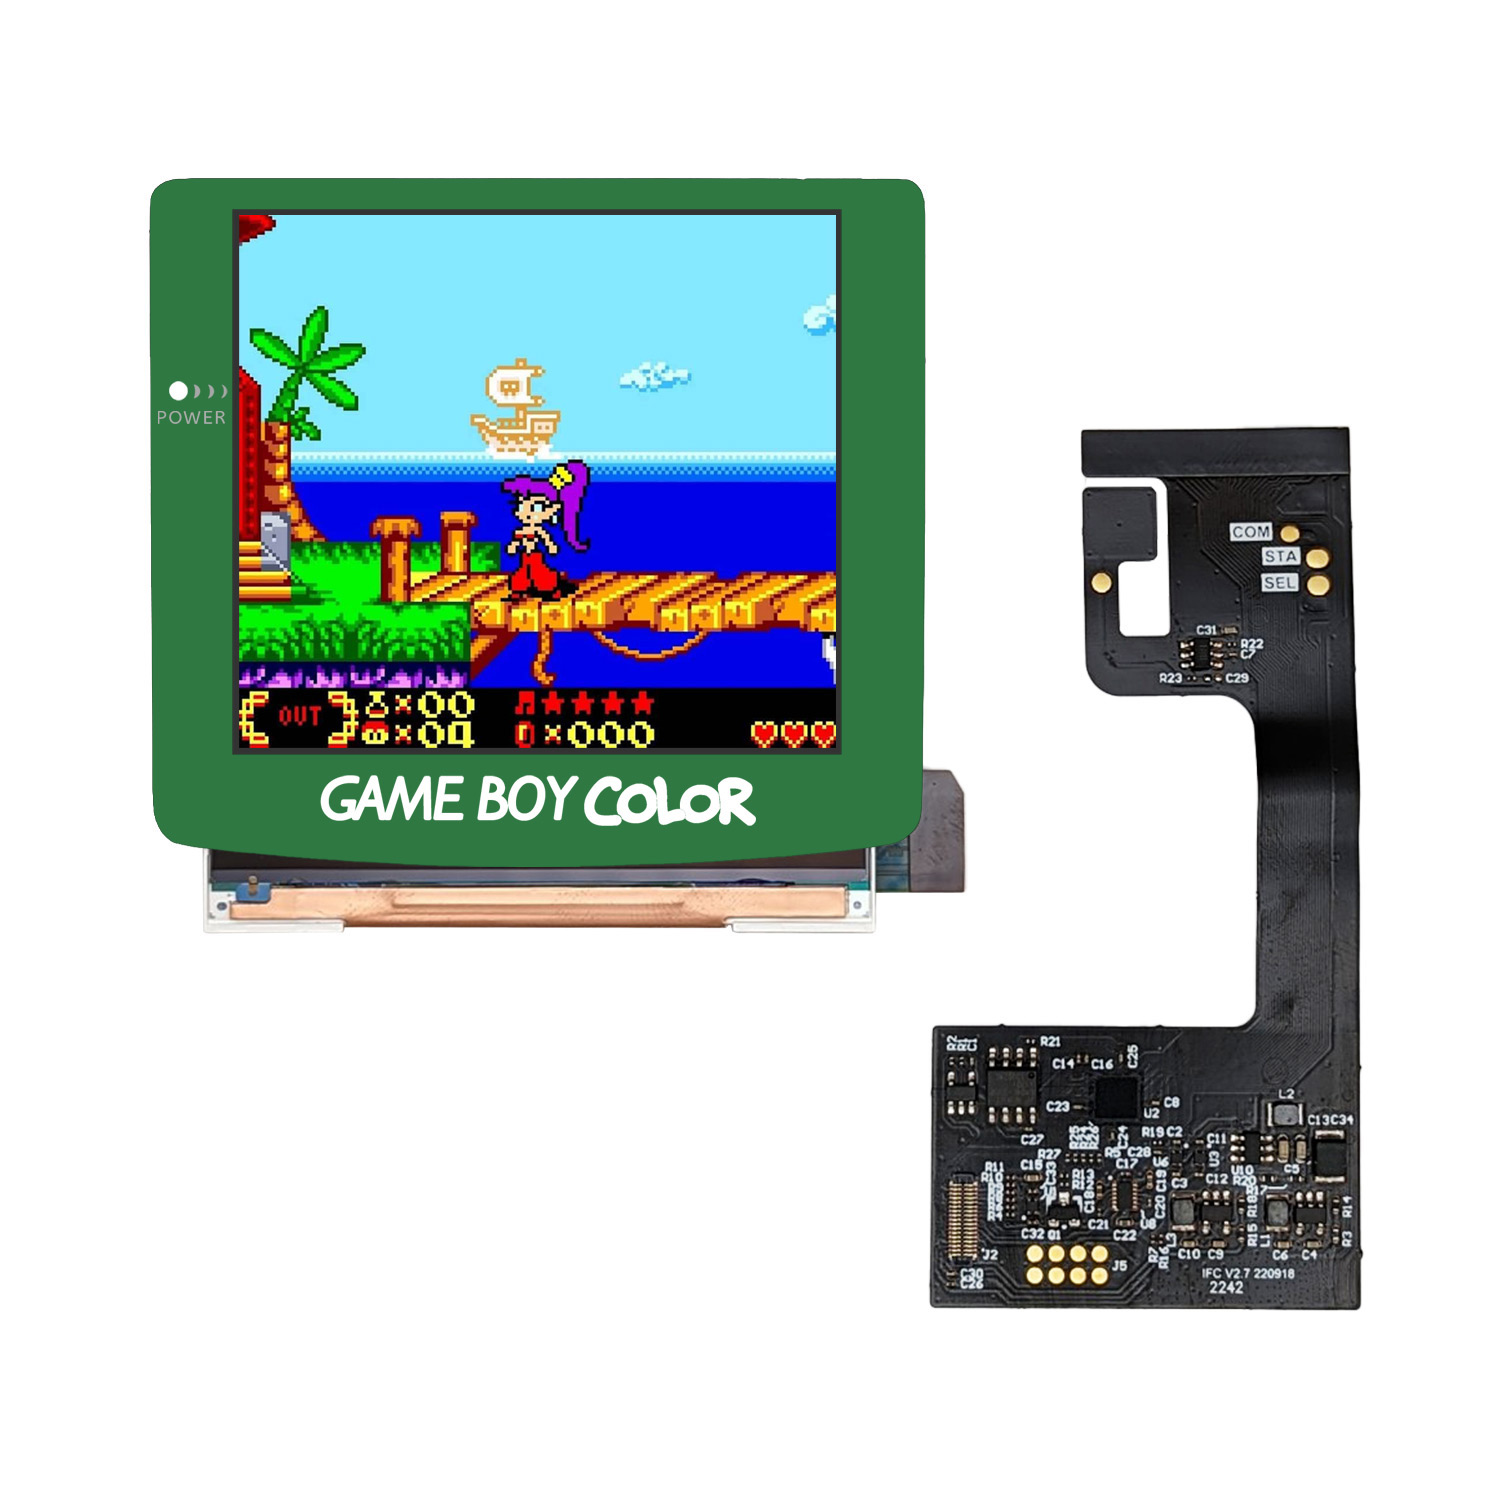
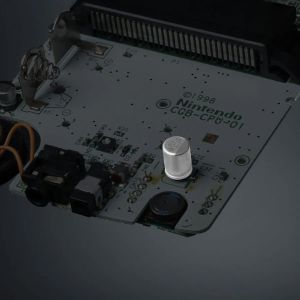
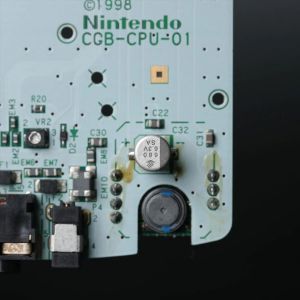
FunnyPlaying RetroPixel V2.1 Laminated IPS Kit for Game Boy Color (White)
| SKU | GBC-IPS-RETROPIXEL-WHITE |
| Color | White |
| Device | Game Boy Color |
| Brand | for Nintendo |
| Manufacturer | FunnyPlaying |
| Field of View | IPS |
Game Boy Color Retro Pixel 2.0 IPS Upgrade Kit by FunnyPlaying
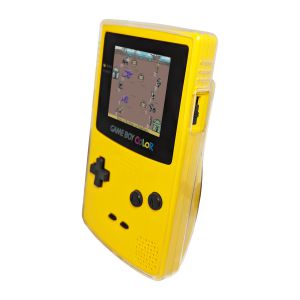
The Retro Pixel 2.0 IPS kit from FunnyPlaying brings your GBC into the present with an enlarged display, rich colors and high contrast. Thanks to the IPS LCD, the image is extremely viewing angle stable, which gives the retro console a modern look. The glass panel is fitted industrially, making installation quick, easy and dust-free.
Features
- High-contrast image with rich colors thanks to modern IPS LCD technology
- 25% larger than the original display
- Optional retropixel effect (scanlines)
- Brightness control via touch sensor
- Illuminated, configurable trademark artwork
- Low power consumption (0.29W to 0.68W)
Includes
- Large IPS LCD (glass panel already pre-installed)
- Ribbon cable with PCB
- Adhesive tape
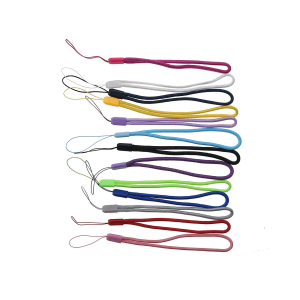
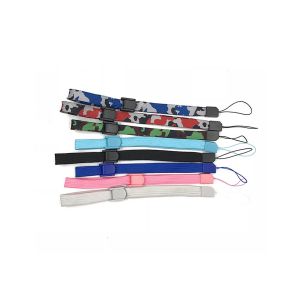
- 3 x silicone wires
- Insulating foil
Tips
- The new version 2.1 comes with an on-screen menu (OSD), but the manufacturer itself delivers 2.1 versions WITHOUT OSD. Unfortunately, no kit with OSD can therefore be guaranteed until FunnyPlaying delivers standardized OSD versions.
- The IPS kit can be installed without soldering, but it is not possible to change the color of the logo lighting
- The kit provides for soldering a cable to the power switch. This solder connection is optional, but necessary to achieve full brightness
- Matching IPS-Ready Shell from FunnyPlaying can be used without modifications - these shells are strongly recommended
- Extensive modifications are required for installation in Original Shell and non-IPS Shell, some shells may be completely incompatible
- If the illuminated artwork is not displayed correctly, simply hold down START + SELECT for 5 seconds. If necessary, repeat until the artwork is displayed correctly again.
Control via touch buttons
- Hold down the START & SELECT buttons simultaneously for a few seconds -> the word GAME lights up (mode 1). Here you can use START and SELECT to move the image up / down
- Tap the touch sensor to activate mode 2 -> the word BOY lights up. Use START and SELECT to move the picture to the left / right
- Tap the touch sensor again to activate mode 3, COLOR now lights up. Use START and SELECT to switch through the different colors
- Press and hold START & SELECT again for a few seconds to confirm and end the process
- To switch between the different RetroPixel modes, tap and hold the touch sensor for a few seconds
Control via OSD menu
- Press and hold the START & SELECT buttons simultaneously for a few seconds to activate the OSD menu
- In the menu, a long press on the touch sensor toggles through the functions, a short tap toggles through the current option
- Holding START & SELECT again closes the OSD menu
The available options are
- BRT - Brightness
- DSP - Display Modes
- FRM - Frame Blending (transparency)
- LGC / R / G / B - Color of the logo
- XST - Horizontal image position
- YST - Vertical image position
Pixel effects
The kit offers 5 different display effects
- Full Pixel mode (highest brightness, strong colors)
- Classic GBC display (imitates the original LCD of the Game Boy Color)
- Classic RGB display (like mode 2 with smaller pixel pitch, slightly darker display)
- RGB display (comes closest to the original LCD, the brightness is rather low)
- Scan Lines (imitates the display effect of the Game Boy Classic DMG-01))
Instructions
Pairs well with
Hints
ATTENTION: The Display must be tested BEFORE installation! Before you install the LCD kit, you first need to test it (dry run). It is important that the LCD is tested outside the shell BEFORE installation so that damage caused by the installation can be ruled out. Likewise, no adhesives must have been applied, LCD frames used or soldering work carried out. The LCD is very fragile and can be destroyed by even slight pressure. Complaints about kits that have already been installed will unfortunately have to be rejected without exception!
- Product images are symbolic images, the real product may differ slightly visually.
Shipping
Your order is usually dispatched the next working day after receipt of payment as an insured parcel. After dispatch, you will receive the tracking number by email, which you can use to track the current status of your delivery.
Austria
 only 3,90 EUR
Insured and with tracking
Delivery time 1-2 Business days
Shipping with Austrian Post
Free shipping from 150 EUR!
Germany
 only 4,90 EUR
Insured and with tracking
Delivery time 2-3 Business days
Shipping with DHL
Free shipping from 150 EUR!
Other EU countries
 from 7,90 EUR
 up to 24,90 EUR
Insured and with tracking
Delivery time 4-10 Business days
Shipping with Regional Partners
Free shipping from 250 EUR!
Belgium - Netherlands - Bulgaria - Denmark - Estonia - Finland - France - Greece - Ireland - Italy - Croatia - Latvia - Lithuania - Luxembourg - Malta - Poland - Portugal - Romania - Sweden - Slovakia - Slovenia - Spain - Czech Republic - Hungary - Hungary
Notes
- For countries outside the EU: The recipient is responsible for customs duties and taxes incurred upon import into the respective country.
- The actual delivery time depends on the shipping service provider in the respective destination country.
- Orders placed with incorrect country information will be cancelled. A correction after ordering is very time consuming for tax reasons and can only be done in exceptional cases.
Manufacturer
FunnyPlayingSUITE 1106-8, 11/F., TAI
YAU BUILDING, NO. 181 JOHNSTON ROAD,WANCHAI
Hong Kong
support@funnyplaying.com
EU responsible person
SilentModding (Inh. Markus Wabnig)Schlossstraße 26
3261 Wolfpassing
Austria
office@silentmodding.com
*all prices incl. VAT, plus shipping costs | delivery times vary depending on the recipients country, more information here


 Français
 Italiano
 Nederlands
